
Why Your Instagram Photos Look Blurry After Upload (8 Real Fixes)
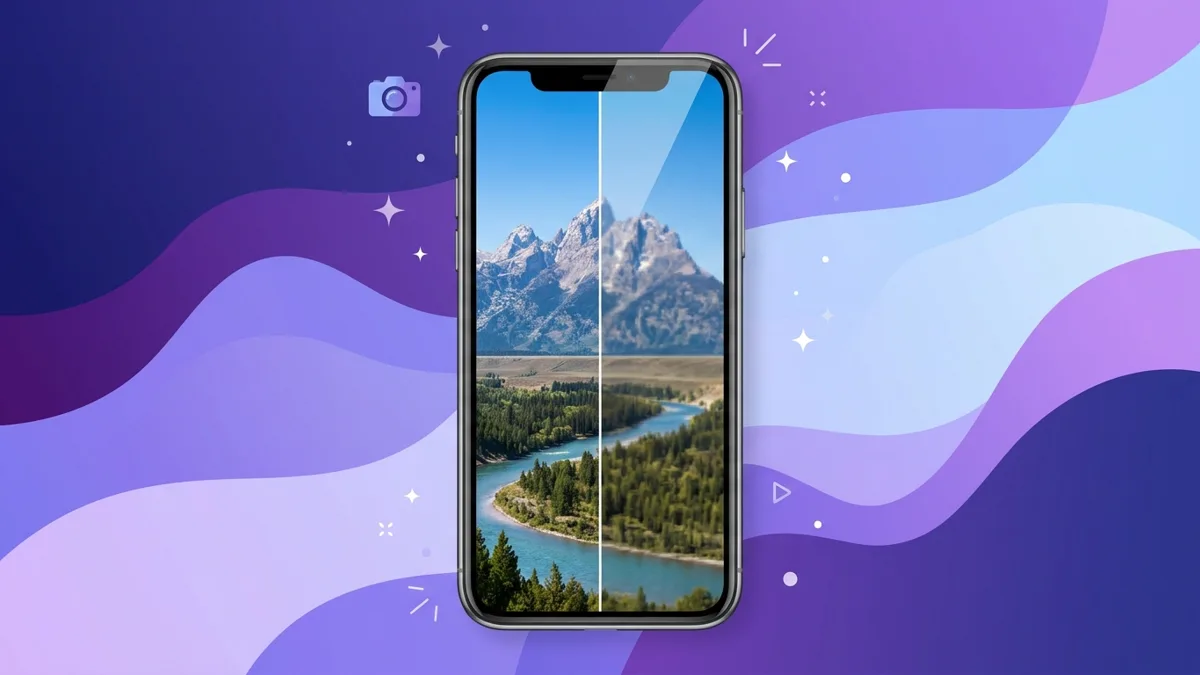
You snap a sharp photo on your phone, inspect every detail in your camera roll, and upload it to Instagram—only to watch it turn into a soft, pixelated mess seconds later. It is not your camera, and your phone screen is not playing tricks on you. Instagram aggressively re-encodes and compresses every single upload to save bandwidth, and unless you prepare your files properly, the platform's automated processing degrades your image quality.
Why Instagram makes sharp photos look blurry
Instagram handles an enormous number of uploads. To keep feeds scrolling smoothly and minimize data usage, the platform applies heavy server-side compression to every image. Several key factors cause uploads to lose clarity:
- Aggressive downscaling: Instagram displays feed photos at a maximum width of 1080 pixels. If you upload a massive 48-megapixel or 24-megapixel file, Instagram downscales the image using a fast algorithm that strips fine details and creates muddy edges.
- Blurry upscaling: When an image measures narrower than 320 pixels wide, Instagram stretches it upward to fill the display area, causing noticeable pixelation and blur.
- Double compression artifacts: Uploading a screenshot or an image sent through chat applications means the file was already compressed. Learning why WhatsApp ruins photo quality explains how multiple compression stages compound artifacts.
- Network throttles and Data Saver: Weak cellular connections or active data saver settings can make Instagram upload a lower-quality version of your file.
Recommended Instagram dimensions
To keep your visuals crisp, prepare files using Instagram's supported aspect ratios and resolution standards. Matching the platform's exact specifications prevents unwanted stretching or awkward cropping.
| Post Type | Recommended Resolution | Aspect Ratio | Key Details |
|---|---|---|---|
| Square Post | 1080 × 1080 px | 1:1 | Standard square for feed posts |
| Portrait Post | 1080 × 1350 px | 4:5 | Ideal vertical format; takes max feed space |
| Tall Portrait | 1080 × 1440 px | 3:4 | Supported tall portrait format |
| Landscape Post | 1080 × 566 px | ~1.91:1 | Wide horizontal display format |
| Stories & Reels | 1080 × 1920 px | 9:16 | Full-screen vertical format |
For other networks, consult our social media image sizes cheat sheet. If you need help calculating dimensions, use an Aspect Ratio Calculator. When designing multi-slide panoramic posts, follow our guide to creating a seamless Instagram carousel.
8 practical fixes to keep your uploads crisp
1. Enable highest quality uploads in the Instagram app
By default, Instagram may reduce upload quality on slower cellular connections.
To ensure Instagram always uploads the best version:
- Open your profile and tap the top-right menu.
- Go to Settings and privacy.
- Select Data usage and media quality.
- Turn on Upload at highest quality.
This ensures Instagram uploads at full resolution even when your connection is slower.
2. Pre-crop to supported aspect ratios
When you upload an image with an unsupported aspect ratio, Instagram crops it automatically. Heavy in-app zooming or cropping on a smaller image enlarges pixels and introduces blur.
Crop before uploading to maintain control over your composition. Use an Image Cropper to lock your frame to 1:1, 4:5, or 3:4, choosing the exact anchor point to keep your subject centered.
3. Resize to 1080 pixels wide before uploading
Feed photos display at a maximum width of 1080 pixels. Instead of letting Instagram's automated tools downscale a huge image, resize it beforehand on your computer or mobile browser.
Using an Image Resizer lets you set exact pixel dimensions or adjust by percentage across up to 20 images at once. Supplying a file that is already 1080 pixels wide avoids unnecessary server-side resizing.
4. Apply a subtle unsharp mask after resizing
Downscaling an image slightly softens edge contrast. A delicate sharpening pass restores crisp definition lost during the resizing process.
Moderation is key. Over-sharpened images or noisy low-light photos compress poorly because algorithms mistake noise for edge detail, producing unsightly artifacts. Use Sharpen Image to apply an unsharp mask with precise Amount, Radius, and Threshold controls. Remember that sharpening increases edge contrast; it cannot recover motion blur or out-of-focus shots.
5. Convert iPhone HEIC photos to JPG
iPhones capture photos in HEIC format by default. Instagram handles them fine when you post from your iPhone, but if your photos pass through a computer, an editing app or a scheduler first, HEIC files often get converted along the way with settings you do not control.
In that case, convert them to JPG yourself at a high quality setting. The HEIC to JPG converter handles up to 20 photos at once and lets you choose the JPEG quality.
6. Avoid uploading screenshots and chat images
Taking a screenshot captures only the resolution of your screen, not your camera sensor's original detail. Chat apps also compress images heavily to save data.
Always upload the original photo directly from your camera roll or cloud storage to prevent multi-generation compression loss.
7. Compress file sizes responsibly
Instagram re-encodes every photo no matter what you send. No tool can bypass Instagram's compression or guarantee zero quality loss, but compressing beforehand gives you control over file weight and clarity.
Run resized images through an Image Compressor to reduce file size with adjustable quality and longest-side limits. Keep the quality high (around 85–90) so you are not stacking a heavy compression pass on top of Instagram's own.
8. Export Reels and videos at 1080p instead of 4K
Uploading 4K video does not improve Reel quality. Instagram plays Reels back at up to 1080p, so a 4K file is converted anyway, often introducing heavy compression artifacts during transcoding.
Export your videos directly at 1080×1920 in a 9:16 aspect ratio. Use a Video Resizer to standardize resolution, and keep critical text inside Reels safe zones so interface icons do not block your content.
Frequently asked questions
Does uploading 4K video make Instagram Reels look sharper? No. Instagram plays videos back at up to 1080p. Uploading heavy 4K files forces Instagram's automated transcoders to re-encode them, often causing more compression artifacts than exporting a clean 1080p file directly.
Can sharpening software fix a photo that is out of focus? No. Sharpening filters work by increasing micro-contrast along existing edges. While this enhances in-focus, resized pictures, it cannot restore detail lost to camera shake or improper focus.
Why do photos sent through messaging apps look blurry on Instagram? Messaging platforms compress media heavily to ensure fast delivery. When you upload a forwarded image to Instagram, it undergoes another round of compression, compounding visible blur and pixelation.
Does Instagram crop images that do not match standard aspect ratios? Yes. Instagram supports aspect ratios from 1.91:1 horizontal to 4:5 vertical (and 3:4 portrait). Any photo outside these limits is automatically cropped to fit the feed container.
Can any tool completely bypass Instagram compression? No tool can bypass Instagram compression or guarantee zero quality loss. Every upload is processed on Instagram's servers. The goal is simply to upload an image sized properly at 1080 pixels so the platform performs minimal re-encoding.
In diesem Artikel verwendete Tools
Bildgrößenänderung
Bilder auf genaue Pixeldimensionen oder einen Prozentsatz skalieren, mit optionaler Seitenverhältnissperre.
Bild zuschneiden
Ein Bild auf einen genauen Bereich oder ein zentriertes Seitenverhältnis wie 1:1, 16:9 oder 4:5 zuschneiden.
Bildkompressor
Bilddateigröße mit einstellbarer Qualität und optionalen Maximalabmessungen reduzieren und die Einsparungen anzeigen.
Bildschärfe
Wahrgenommenen Detailreichtum mit einem Unschärfe-Maskierungsfilter mit einstellbarer Stärke und Radius erhöhen.
HEIC zu JPG
Konvertieren Sie iPhone HEIC/HEIF-Fotos in JPG-Dateien, die überall geöffnet werden können.
Video-Resizer
Ändern Sie die Videoauflösung, zum Beispiel von 4K auf 1080p oder 720p.